Outlook is the most popular email application used among professionals. This powerful tool will effectively help you manage emails, meetings, appointments, notes, etc. Outlook saves the data in the form of a .pst file.
You might be looking to transfer the Outlook data to a new computer for various reasons:
- You might have purchased a new computer and might be thinking of transferring the Outlook data to a new computer.
- You may not be able to access the Exchange mailbox; hence you are considering moving the Exchange mailbox to the new computer.
- You might be considering upgrading to the Mac OS.
- If you are upgrading from one version of Outlook to the other version.
These are some of the various reasons why you want to move your Outlook data to another computer. Now the real question arises how to transfer Outlook data files to a new computer? This article will discuss how to migrate the Outlook data file using various methods.
How to Transfer Outlook Data to a New Computer?
Follow the below methods to migrate emails, contacts, calendars, notes, tasks, etc.
Method 1: Export/Import Outlook Data File
For Outlook Version 2019, 2016, and 2013
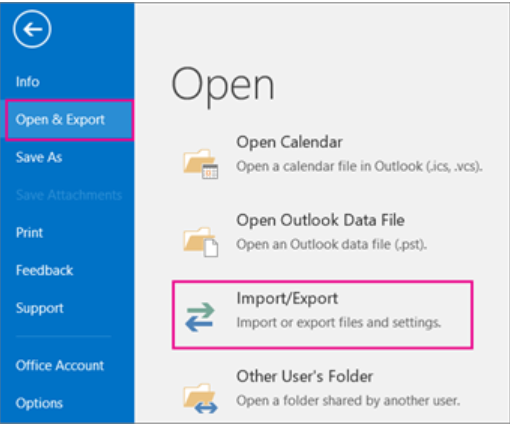
- Launch the Outlook application and click on the File tab to transfer the Outlook data.
- Now select the Open Option and click on the Import/Export button.
- Choose Comma Separated Values.
- Select the option Export to a file and click on the Next Option.
- Now choose the Outlook data file (.pst) and click on Next.
- Click on Browse, select the location and file name, and click on the OK button.
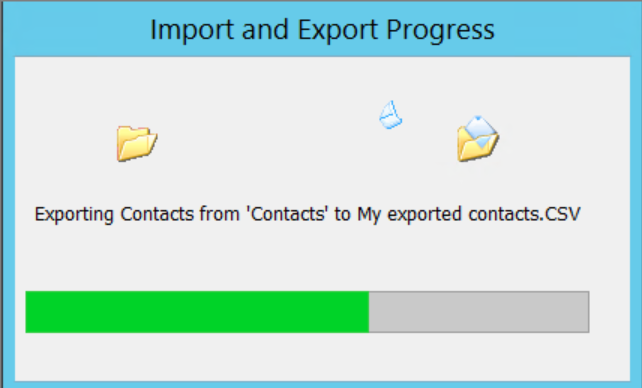
- Finally, click on the Finish button and confirm the location to save the .pst File (it is recommended to save it on the external hard drive), and click on the Next Option.
Follow the steps below to Import the backup contacts file to the new computer.
- Now connect the drive on which you have taken the backup of your data to the new computer on which you want to import the Outlook data.
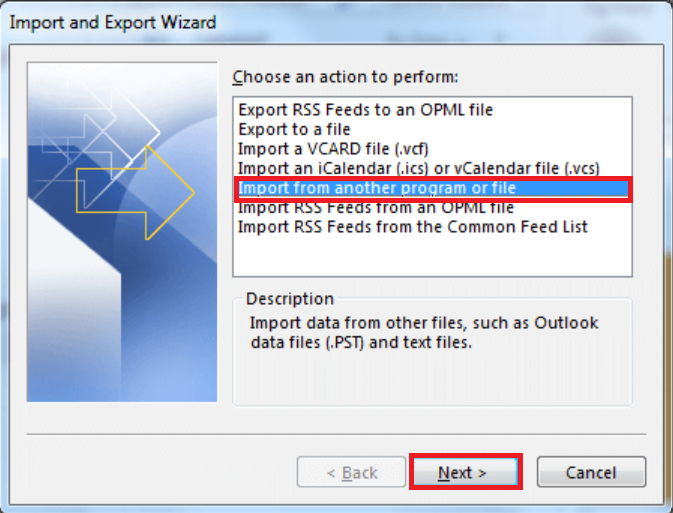
- And then, go to the File and click on the Import and Export option.
- Select the Import from another program/file option and click on the Next Option.
- Select the Outlook Data File and click on the Open Option.
- Click on the OK once you have adjusted the field, and then finally click on the Finish option.
For Outlook 2010
Follow the steps below to transfer Outlook data to a new computer:
- Go to the Outlook application, click on the File, and then click on the Option.
- Then click on the Advanced tab and then click Export.
- Now select the option Export to a file option and click on Next.
- Choose a CSV file and click on the Next Option.
- Select the folder you want to backup the data and click on the Next Option.
- Click on the OK and finally click on the Finish option.
Follow the steps below to import the Outlook data to a New Windows.
- Now connect the drive on which you have taken the backup of your data to the new computer on which you want to import the Outlook data file.
- And then, go to the File and click on the Import and Export option.
- Select the Import from another program/file option and click on the Next Option.
- Select the Outlook Data File and click on the Open Option.
- Click on the OK and then finally click on the Finish option.
For Outlook 2007
Follow the steps below to migrate Outlook data to new Windows:
- Go to the Outlook application and click on File.
- Now click on the Import and Export option.
- Click on the Export to a file option and click on Next.
- Highlight Outlook Data File and click on Next.
- Browse the drive on which you want to save the PST file, fill in the file name, click on Next, and finally, click on Finish.
Follow the steps below to import the Outlook address book to the new Windows:
- Open the Outlook application on the new computer you want to import the Outlook data file and connect the external hard drive on which you have taken the Outlook CSV file as a backup.
- Then go to the File and click on Import and Export and Next.
- Now select the Import from another program or File and click on Next.
- Select the PST file and then click on the Next Option. Browse the location you want to save and click on Next.
- Click on OK and then finally click on Finish.
Method 2: Manually Copy and Paste PST File
- Open Outlook and click on File and go to Account Settings.
- Now select Data Files and click on Open File Location.
- You will be able to see an Outlook PST File, copy the File onto a USB drive and connect the USB drive to a new computer.
- Now on the new computer, paste the PST file in any location, be it a desktop or documents.
- Open Outlook on the new computer and click on the File option.
- Select Open and Export, and click on Import/Export.
- Select the PST file you copied from the old computer.
- Now you should be able to log in by mentioning the credentials.
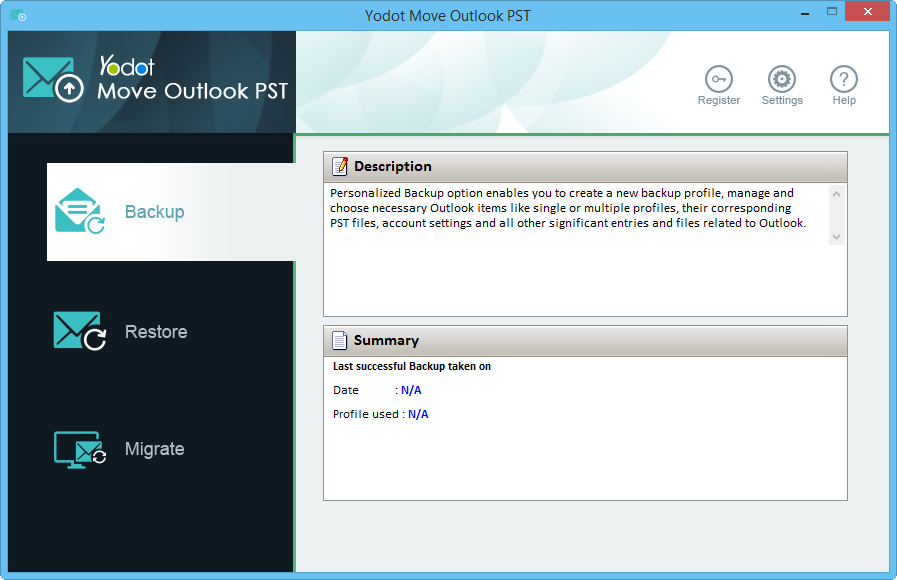
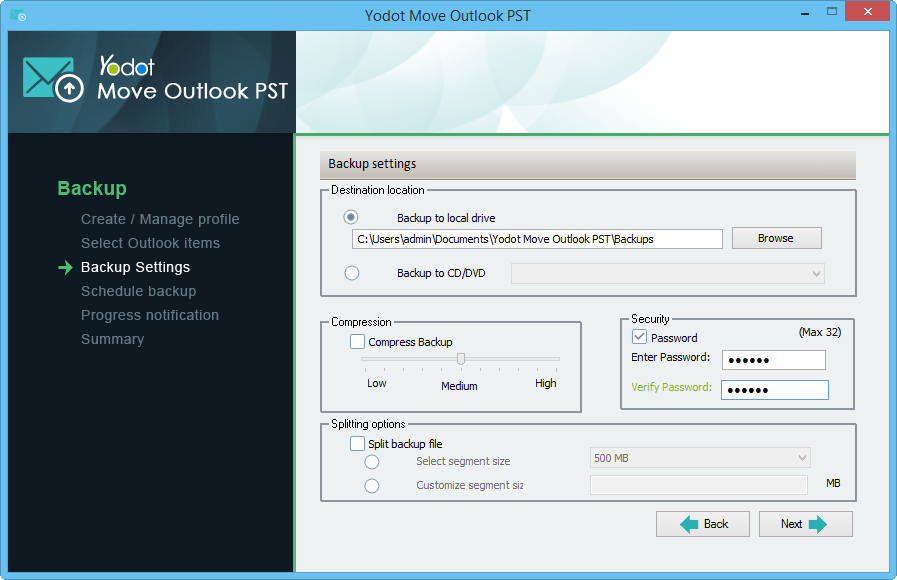
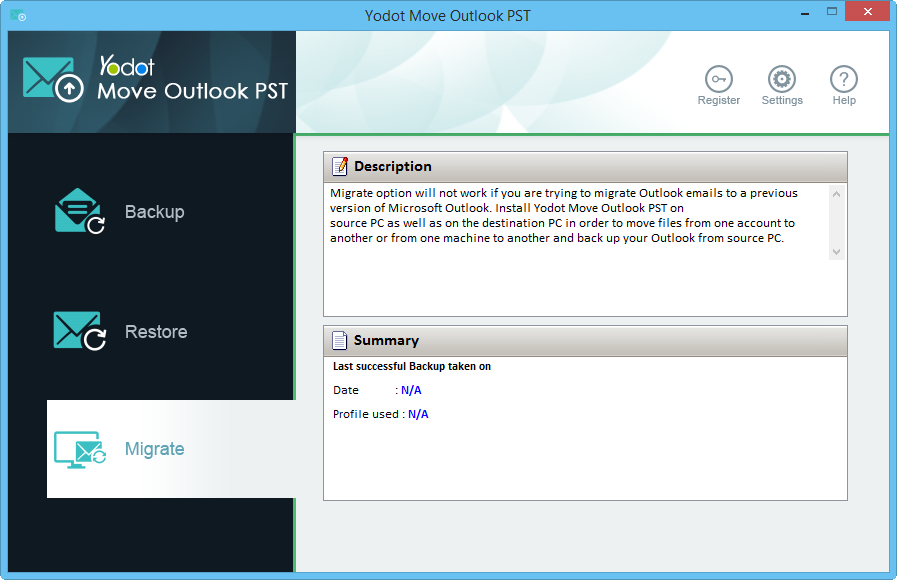
Method 3: Migrate Outlook Data File using the Yodot Move Outlook PST tool

Step 1: Download and install the Yodot Move Outlook PST tool on your Windows computer.
Step 2: Select the backup Option and the Smart Backup option on the main screen.
Step 3: Save the contacts backup File on the drive where you want to move Outlook contacts.
Step 4: Create a new Outlook profile on the destination drive (where the backup File is located).
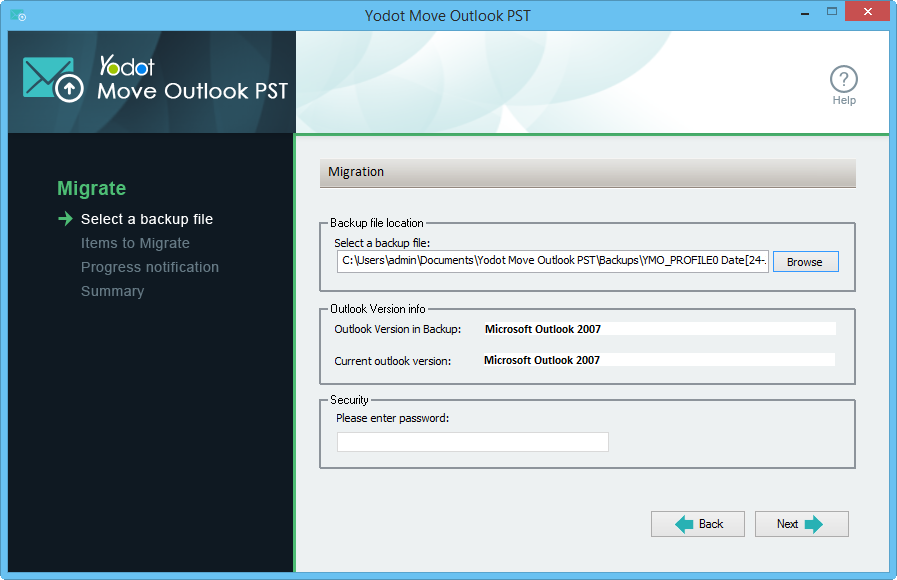
Step 5: Rerun the software and click on the Migrate button.
Step 6: Select the backup File and mention the path of the new Outlook Profile created.
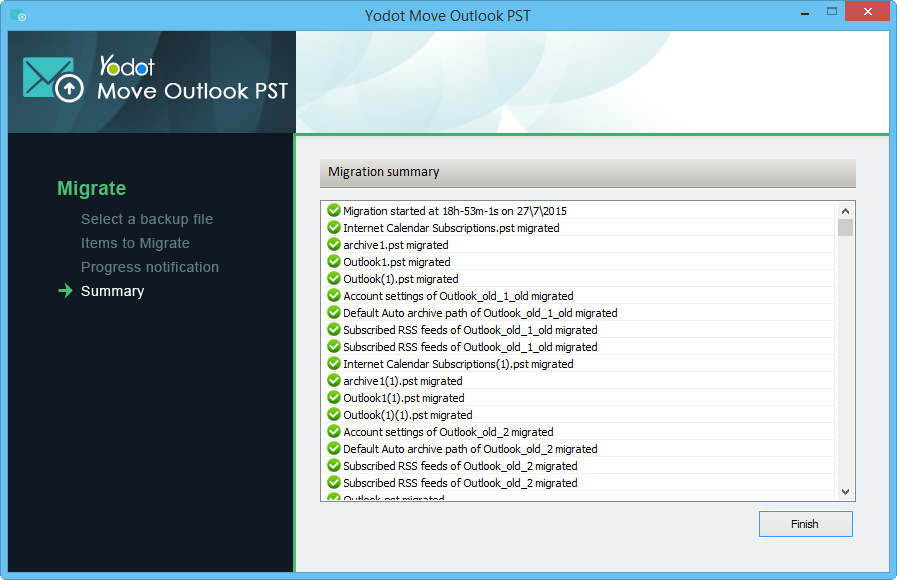
Step 7:
- Click on the Next button.
- Verify the newly configured Outlook profile in the Migration Summary.
- Click on Finish.
Conclusion:
This article helped provide information on migrating Outlook data to a New computer. Please share the information with your colleagues and comment below with your thoughts.