“I am getting an error, “Task 'Microsoft Exchange Server - Sending' reported error (0x8004060C): 'Unknown Error 0x8004060C'” on my Outlook while trying to send mails. I am unable to send any emails from my Outlook account. Nobody in my organization who share the same network has this problem except me. Can anyone please let me know why am I getting this error and is there a solution to get rid of this error?”
Sometimes, you may come across the 0x8004060C error message while sending or receiving an email in Outlook. Let us try to understand the reason behind Outlook 0x8004060C error.
What Are The Reasons Behind Outlook Error 0x8004060C?
- Size Of The PST File: 0x8004060C error in Outlook is shown when the PST file size is almost near the maximum size limit. The above error may occur when you fail to send any mails and also while receiving any emails because there will not be space on the PST file to save more data in “Sent items” or “Inbox”. Microsoft has fixed maximum size limits for PST files on each version of Outlook i.e. it is 2GB for Outlook 2002, 2000, and previous versions, 20 GB for Outlook 2003 and 2007, 50 GB for Outlook 2010, 2013, 2016, 2019, and Office 365. Exceeding the maximum file size can cause a 0x8004060C error in Outlook.
- Corrupted OST/PST Files: Outlook Shows a 0x8004060C error if the PST or OST files are damaged or corrupt.
- Outdated Outlook: You are likely to face a 0x8004060C error if you have not updated your Outlook.
- Other Reasons: Connection or synchronization issue between MS Outlook and Exchange server. Other common reasons behind this error can be due to Malware or Virus infection.
How To Fix Error 0x8004060C In MS Outlook?
Here are a 6 simple methods to fix Outlook error 0x8004060C:
- Empty Deleted Items Folder
- Compact Outlook Data File
- Clean Up Mailbox
- Archive Old or Unwanted Emails
- Update the Outlook to Latest Versions
- Repair PST File Using SCANPST.exe
- Repair PST Files Using Yodot Outlook PST Repair software
Method 1: Empty Deleted Items Folder
Emptying the Deleted Items folder reduces the size of the PST file, which might be causing a 0x8004060C error in Outlook. There are 2 ways to Empty Deleted folder:
Manual Method to Empty Deleted Items Folder:
Step 1: Log in to Outlook and open Deleted Items folder.
Step 2: Right-click and select the Empty Folder to clear the contents of the folder.
Automated Method to Empty Deleted Items Folder:
Step 1: Log in to Outlook and click on the File button.
Step 2: Click on Info and choose the Options button.
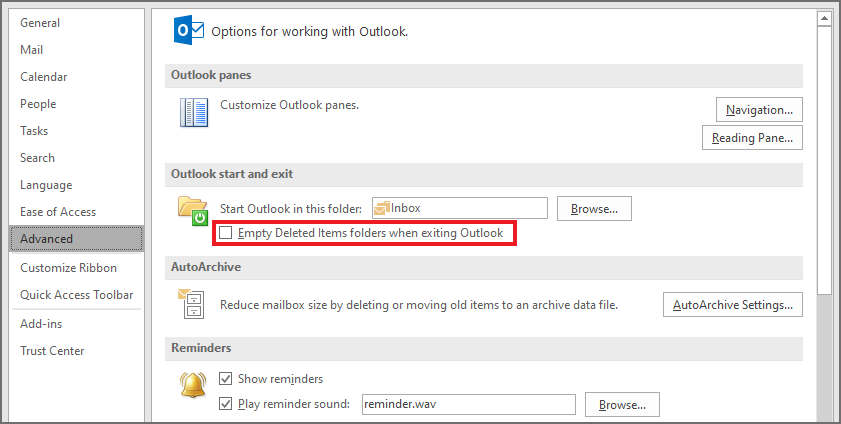
Step 3: Click on Advanced.
Step 4: In the Outlook Start and Exit section, click on the check box beside the Empty Deleted Items folder when exiting Outlook option and click OK.
Method 2: Compact Outlook Data File
Follow the below steps to compact your Outlook Data File:
Step 1: Open Outlook and go to File >> Account Settings.
Step 2: In the drop-down list click on Account Settings and click on Data Files.
Step 3: Select the Outlook PST file that you want to compact and click on settings.
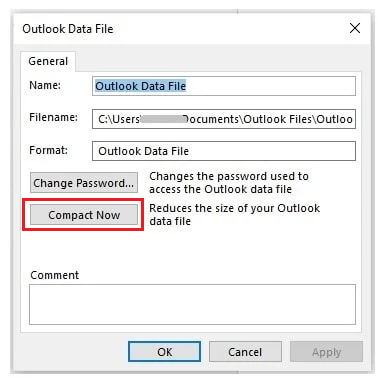
Step 4: In the Outlook Data File window, click the Compact Now Outlook will compact the file automatically.
Method 3: Clean Up Mailbox
Follow the below steps to use the Mailbox Cleanup function in Outlook to remove the emails:
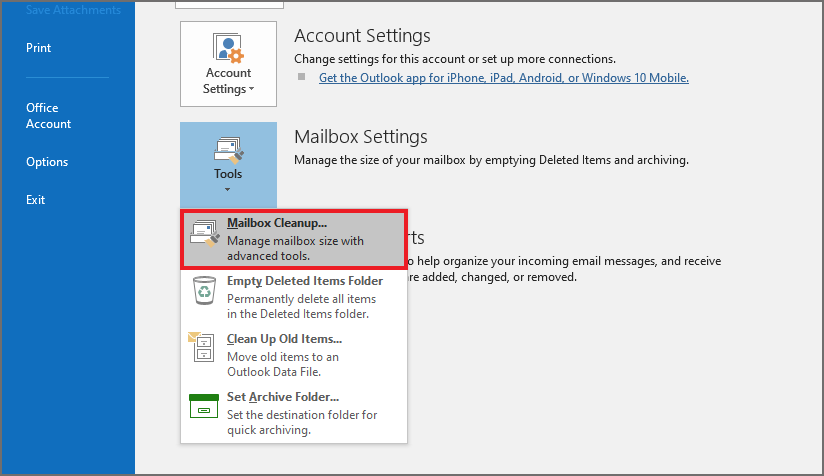
Step 1: Open Outlook and go to File >> Info >> Tools >> Mailbox Cleanup.
Step 2: Select the option Find items larger than and enter the appropriate value. Then click Find.
Now, try sending or receiving the emails to check if the 0x8004060C error is solved.
Method 4: Archive Old or Unwanted Emails
Follow the below steps to reduce the size of your Outlook data file by archiving old and unwanted emails:
Step 1: Open Outlook and go to File >> Info >> Cleanup Tools >> Archive.
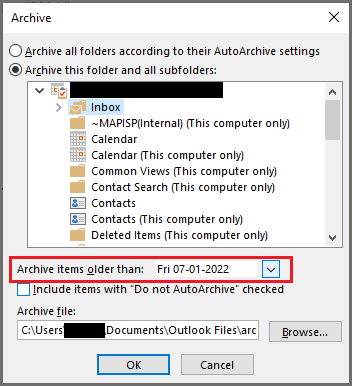
Step 2: Select the option Archive this folder and all subfolders and select the folder you want to archive.
Step 3: Enter an appropriate date in the Archive items older than field.
Method 5: Update the Outlook to Latest Versions
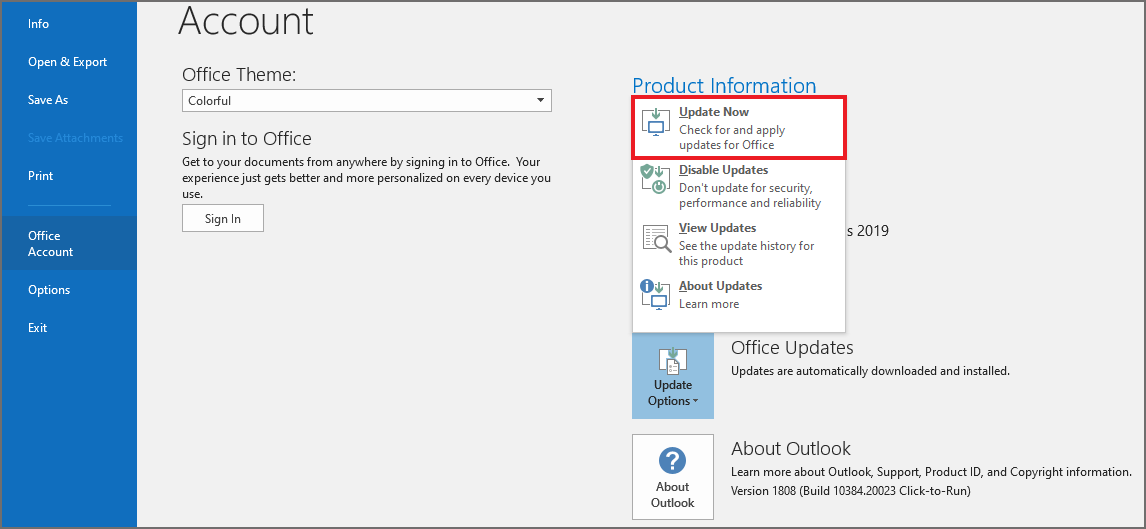
Follow the below steps to fix the 0x8004060C error by updating Outlook:
Step 1: Open Outlook and go to File >> Office Account >> Update Options.
Step 2: From the drop-down list, click on the Update Now option.
Step 3: Restart Outlook and check if the 0x8004060C error is resolved.
Even after following all the above mentioned methods if you are not able to fix Outlook 0x8004060C error, it is recommended to create a new Outlook profile and archive emails to it. However, if you think you have a damaged or corrupt PST file, then you can go ahead follow the next methods to fix your Outlook PST file using Inbox Repair Tool provided by Microsoft for repairing PST files.
Method 6: Repair PST File Using SCANPST.exe
- Outlook 2019: C:\Program Files\Microsoft Office\root\Office19\
- Outlook 2016: C:\Program Files (x86)\Microsoft Office\root\Office16
- Outlook 2013: C:\Program Files (x86)\Microsoft Office\Office15
- Outlook 2010: C:\Program Files (x86)\Microsoft Office\Office14
- Outlook 2007: C:\Program Files (x86)\Microsoft Office\Office12
Step 1: Close Outlook.
Step 2: Locate the SCANPST tool based on your Outlook versions
Step 3: Start repairing the damaged/corrupt PST file by double-clicking on SCANPST.EXE.
Step 4: Click on Browse button to locate the corrupt/damaged PST file and then click on Start.
Sometimes Inbox Repair Tool also fails to fix the PST file if the severity of corruption is high. It is best recommended to make use of a professional Outlook repair Software to easily repair corrupt or damaged Outlook files.
Repair PST Files Using Yodot Outlook PST Repair software:
Outlook PST repair tool is an efficient to fix PST files after Microsoft Outlook error 0x8004060C. You can repair PST of various Outlook versions like MS Outlook 2019, 2016, 2013 and previous versions using this tool. After repairing the PST file, you can get back all attributes including emails, Contacts, Calendar Events, Tasks, Reminders, etc. This program can also repair password-protected or encrypted Outlook PST files.
Steps to fix the PST file:
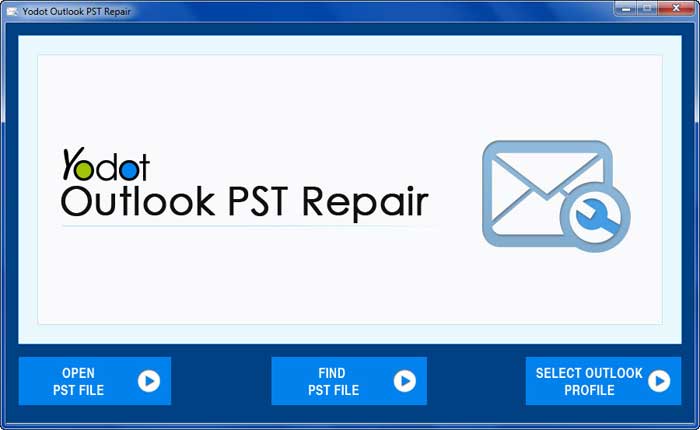
Step 1:Download Outlook PST Repair software and install it on a Windows computer.
Step 2:Run the utility and choose any option from “Open PST File”, “Find PST File” or “Select Outlook Profile” to select the Outlook profile that you want to repair.
Step 3:Select destination location by browsing and select mode of scan, either “Normal Scan” or “Smart Scan” and click on “Repair” button
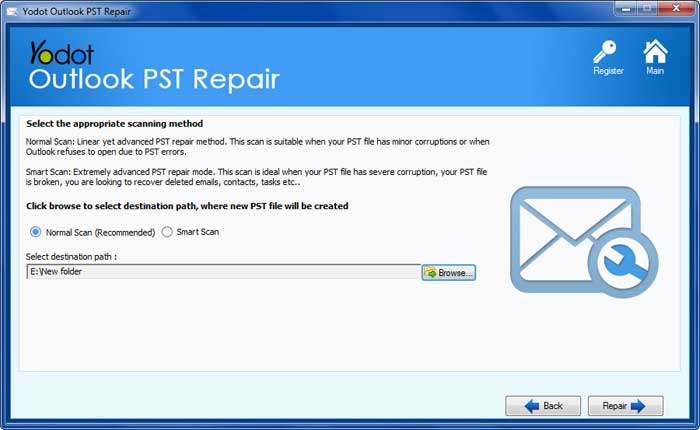
Step 4:Software starts scanning Microsoft Outlook PST file and you could view resulted information about PST file contents in a short duration

Things to remember:
- Delete unwanted data from Outlook PST files regularly to avoid PST files exceeding the fixed file size limit.
- Keep backup of PST files and avoid data loss when PST is corrupted.
- Compact Outlook PST file to free memory space on it which are not being used anymore and have more space for saving data in PST file.