You have just copied important files from your friend on your external drive. You connect it to your system only to find out that the drive is not getting mounted. You remove the drive, try another port, restart the system and insert it again. The drive is not showing up as mounted. The mounting means to make the disk available for the Operating system to perform read and write operations.
You can select the disk and click on the mount to make the drive accessible by the Operating system.
Even after connecting your disk to the system, it may not show up in the list of connected devices. Here are some reasons why this might happen:
- Incorrect formatting of the disk: The disk you are trying to connect has to be formatted in Mac OS Extended (Journaled) format or other Mac-supported formats. If this isn’t the case, the disk won’t be recognized.
- Corrupt Disk: The disk itself is corrupt, therefore preventing you from accessing any data within it.
- Improper removal of the disk: If you removed the disk without properly un-mounting it from the system, the disk permissions are corrupted, which prevents proper disk mounting.
- Power disruption: A sudden power disruption can damage the disk and cause problems while mounting on the system.
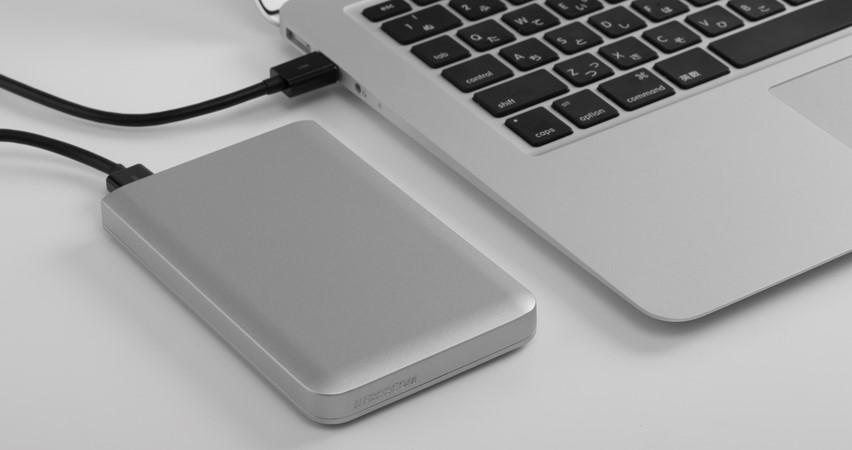
- Hardware issue: The cable that connects the drive to the system is faulty and hence you cannot access it.
How to solve disk mount issues?
You can use the Disk Utility option to fix the hard drive mounting issue.
- If the disk is visible in Disk Utility but failed to mount, select the disk and click Verify Disk.
- If you find any errors, click Repair Disk to repair all the issues that were detected. If this process completes successfully, remove your disk and connect it again.
- If the above method did not work, you can go for “live verification”. Shut down your system. Restart your system with the disk still connected.
- Once the system boots, press Command+R. A menu shows up. You can select Disk Utility from here. Select your disk and follow the procedure mentioned in the second step.
- If the disk utility is not functioning properly, you can access it from the Terminal.
Go to Applications -> Terminal.
Enter: diskutil list (This shows all the available volumes)
Check the volume identifier from the table.
Enter: diskutil repairVolume [diskvolume identifier].
Data Recovery with Yodot Mac Data Recovery software
If none of the above methods worked, you can reformat the drive and try mounting it again.
Before you reformat, it is important to back up all your data. Yodot Mac Data Recovery software is one of the best tools to restore data from corrupt, non-mounting, unresponsive hard drives.
The algorithms are extremely strong and can recover data from almost any circumstance. All kinds of hard drives, USB drives, and memory sticks are supported by the data recovery tool.
If your hard drive crashed while trying any recovery method or trying to access the disk, you can restore data using the Yodot Mac Data Recovery tool. It can recover data from crashed imac quite seamlessly and in a very short period of time.
The software works on all versions of Mac Operating systems.