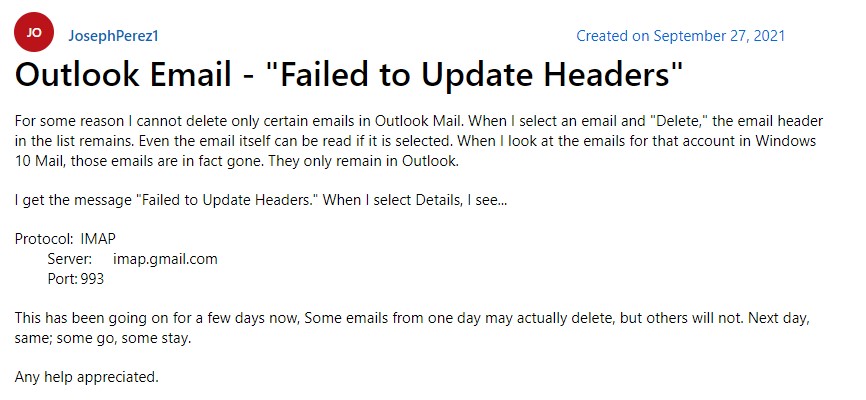
Encountering the “Outlook Failed to Update Headers” error can be frustrating and severely affect your email management. In this guide, we will explain why this error occurs and provide simple solutions to fix it. By following our recommended steps, you can resolve the error and ensure that Outlook displays accurate email header information. Let’s work together to address this error and make your Outlook usage smooth again.
What Does Outlook Failed to Update Headers Mean?

The error message “Outlook Failed to Update Headers” means that Outlook is having trouble showing the important information at the top of an email. This information includes things like who sent the email, who it’s for, and what the subject is. When Outlook can’t update the headers, it means that this information might not be there or might be wrong. This can make it hard to understand and manage your emails.
This error can make it difficult to manage emails efficiently. It can affect tasks like sorting, searching, and organizing emails based on the correct header information. Resolving this error is important to make sure that Outlook works well and shows the right header details for easier email management.
Let’s take a look at the common reasons as to why resolving the “Outlook Failed to Update Headers” error is necessary in the following section.
Common Reasons to Fix the “Failed to Update Headers” Error in Outlook:
There are several reasons why you should fix the “Failed to Update Headers” error in Outlook
| Causes | Description |
| Correct email details | Resolving this error ensures that important information like the sender, recipient, and subject is displayed correctly, making organization and accurate email management easier |
| Easy sorting and searching | When the headers don’t update, it becomes difficult to sort emails by date, sender, or subject, and searching for specific emails becomes challenging. Fixing this error allows for smooth sorting and searching, saving you time and effort. |
| Clear communication | Headers provide important context for understanding email messages. When they fail to update, it can lead to confusion or misunderstandings. By fixing this error, you can make sure that the headers accurately reflect the content of your emails. |
| Improved productivity | The “Failed to Update Headers” error can affect your workflow and cause frustration. By fixing it, you can regain control over your email management, leading to increased productivity and smoother email-related tasks. |
In the upcoming section, we will discuss possible methods to fix the issue of Outlook failing to update headers.
How to fix the Microsoft Outlook Failed to Update Headers error :
To resolve the error “Outlook failed to update headers,” you can attempt the following troubleshooting methods:
- Restart Outlook and your computer
- Repair the Outlook Data Files
- Disable Conflicting add-in
- Update Outlook to the latest version
- Rebuild Outlook profile
- Using Yodot Outlook PST Repair Tool
Six Methods to Fix Outlook Failing to update headers?
When encountering the problem of Outlook failing to update headers, there are several troubleshooting methods you can try to resolve the issue. Here are some common methods listed below:
Method 1: Restart Outlook and your computer to fix the error “Outlook Failed to Update Headers”
Step 1: Close Outlook completely and ensure all associated processes are terminated.
Step 2: Restart your computer to refresh the system.
Step 3: Launch Outlook again and check if the headers are updating properly.
Method 2: Repair the Outlook Data Files
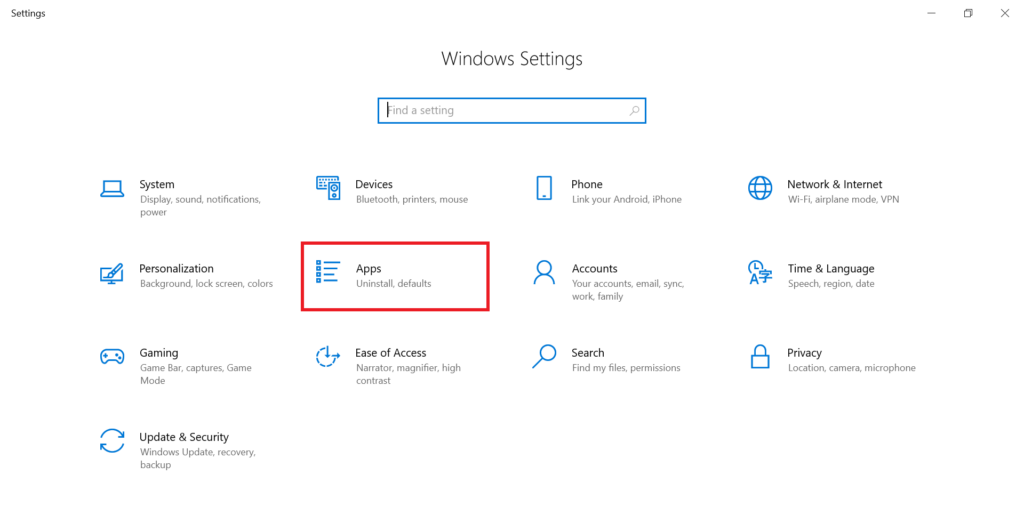
Step 1: In the Windows Search bar type Settings and open Windows Settings.
Step 2: Select the Apps menu.
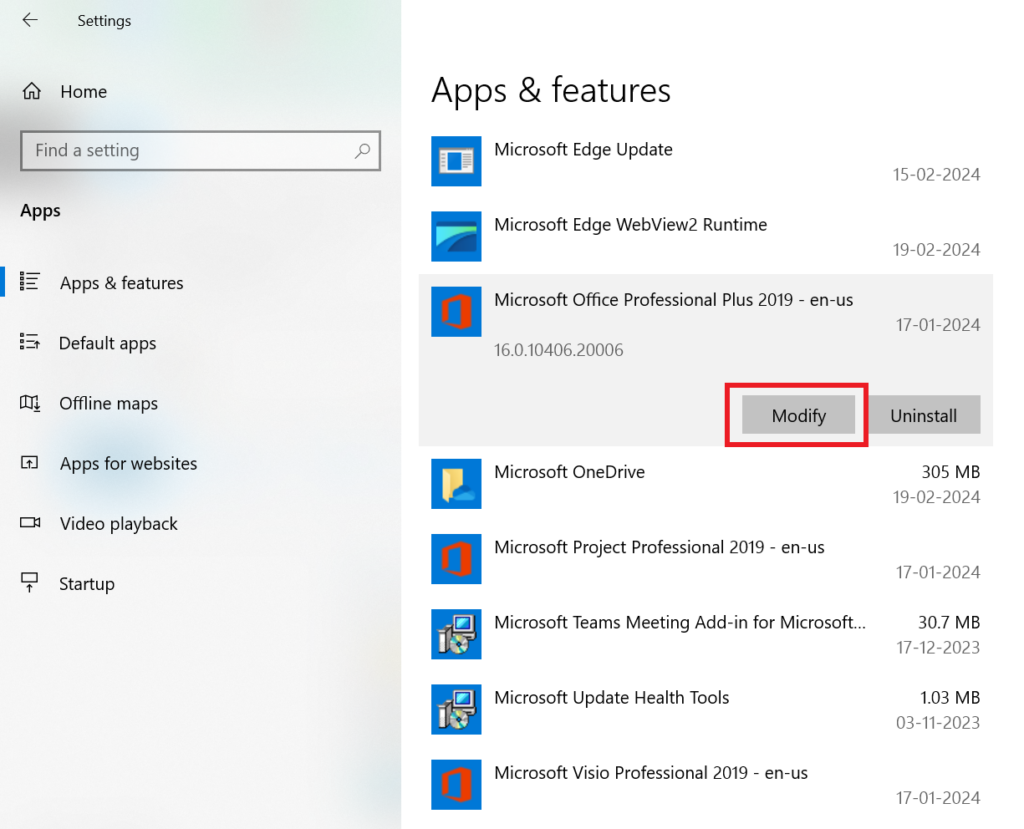
Step 3: From the list of apps find and click on the Microsoft Office app (Version may vary from user to user).
Step 4: Click on Modify.
Step 5: Select the repair option in the new popup window. Choose Quick Repair to resolve most issues quickly. Choose Online Repair to resolve all issues, but takes a longer time and an internet connection throughout.
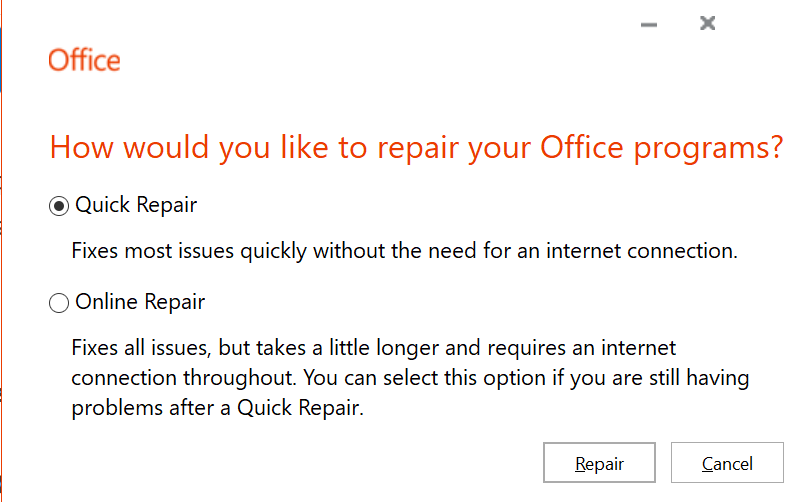
Step 6: Choose Repair to start the repair process.
Step 7: Restart Outlook and check if the headers are updating properly.
Method 3: Disable conflicting add-ins to fix Microsoft Outlook Failed to Update Headers
To fix the “Outlook failed to update headers” error, you can disable add-ins that might be causing conflicts. This will help resolve any issues and allow Outlook to update headers correctly.
To disable conflicting add-ins and resolve the Microsoft Outlook failed to update headers issue, follow these steps:
Step 1: Open Outlook and go to the “File” tab.
Step 2: Click on Options and select Add-Ins.

Step 3: In the Manage dropdown, choose “COM Add-ins” and click “Go“.
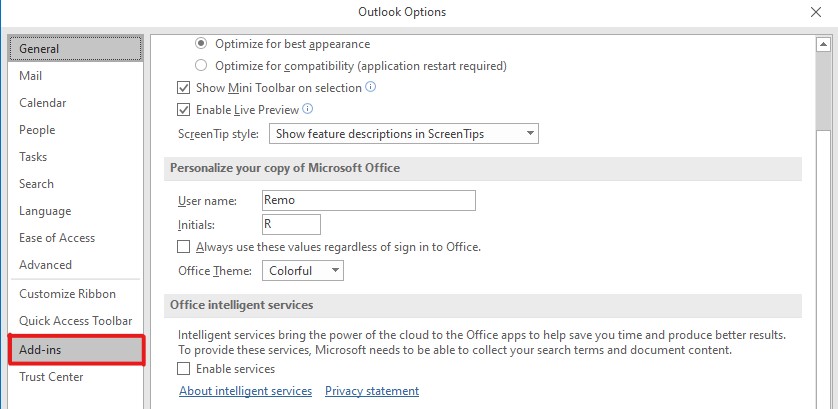

Step 4: Uncheck any recently added add-ins and click “OK“.
Step 5: Restart Outlook and check if the headers are updating correctly now.
Method 4: Update Outlook to the latest version
To update Outlook to the latest version, follow these steps:
Step 1: Open Outlook and go to the File tab.
Step 2: Click on Office Account or Account (depending on your Outlook version).
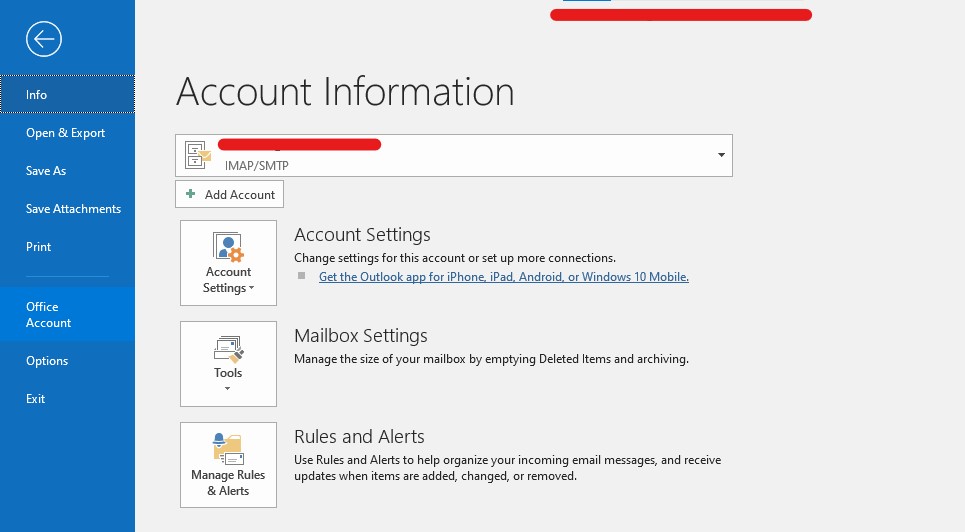
Step 3: Click on Update Options and select Update Now.
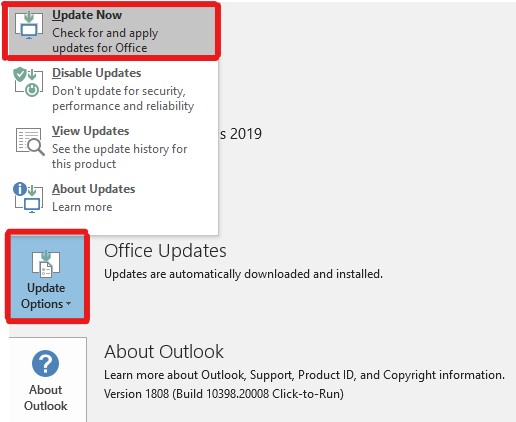
Step 4: Let Outlook install any available updates.
Step 5: Restart Outlook and check if the headers are updating properly.
Updating Outlook to the latest version ensures that you have the most recent features, bug fixes, and improvements. It can also help resolve any issues, including problems with updating headers.
Method 5: Rebuild Outlook profile to Resolve the Error “Outlook Failed to Update Headers Error”
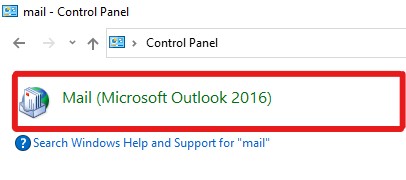
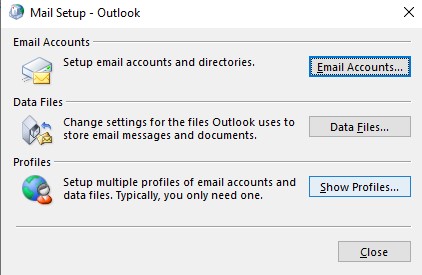
Step 1: Close Outlook and open the “Control Panel“.
Step 2: Search for “Mail” and click on “Mail (Microsoft Outlook [version])”.
Step 3: Click on “Show Profiles” and select your Outlook profile.
Step 4: Click on “Remove” to delete the profile.
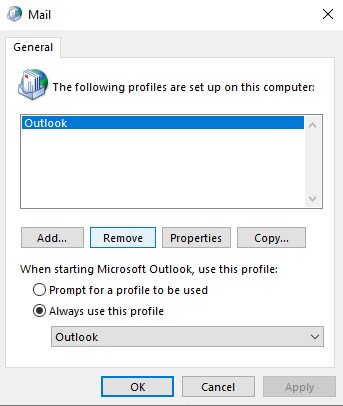
Step 5: Follow the on-screen instructions to create a new Outlook profile.
Step 6: Set up your email account in the new profile.
Step 7: Open Outlook with the new profile and check if the headers are updating correctly.
If none of these methods resolve the issue, it is recommended to use a professional PST repair tool like the Yodot Outlook PST repair tool.
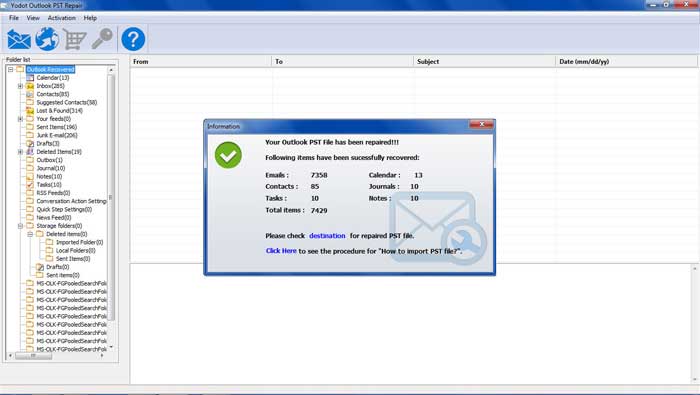
Method 6: Resolve Error “Outlook Failed to Update Headers” Using Yodot Outlook PST Repair Tool:
If the previous methods don’t work, you can use Yodot Outlook PST Repair software to fix the “Outlook failed to update headers” error. It scans and repairs corrupt PST files, allowing for easy data recovery in Microsoft Outlook. The software also resolves other Outlook errors like MAPI errors, access denied errors, insufficient memory errors, send/receive errors, and sync errors.
This PST data recovery software supports the repair of corrupted or damaged PST files across multiple Outlook versions, including Outlook 2021, 2019, 2016, 2013, 2010, 2007, 2003, and 2000. During the repair process, the tool recovers various Outlook data, including emails, contacts, notes, appointments, tasks, and other deleted items.
Here are the simplified steps to use the Yodot Outlook PST file repair tool:
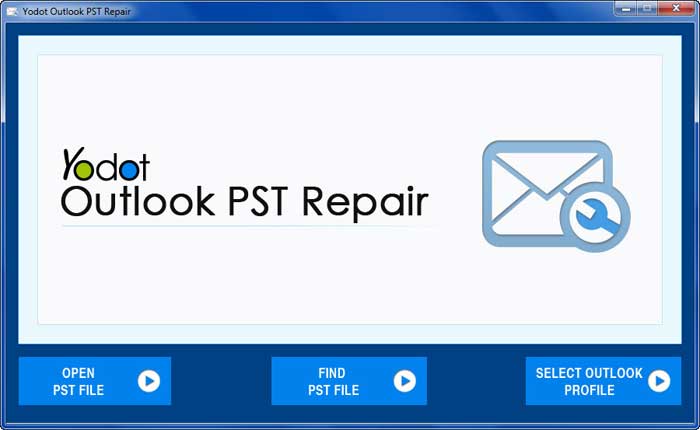
Step 1: Download and install Yodot Outlook PST Repair software on your Windows computer.
Step 2: Launch the software and select the Open PST file that you want to repair.
Step 3: Click on the Repair button to start the repair process.
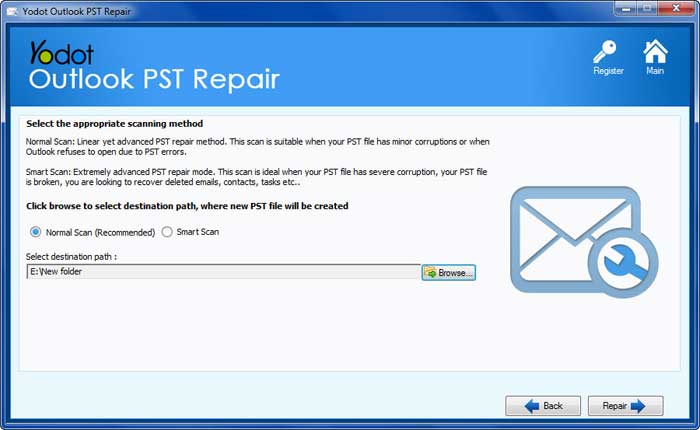
Step 4: The software will scan and fix the PST file, recovering all your data and resolving any errors.
Step 5: Preview the recovered data to ensure everything is intact.
Step 6: Save the repaired PST file to a location of your choice on your computer.
By following these steps, you can easily repair your Outlook PST file using Yodot Outlook PST Repair software.
Additional Tips and Precautions to Fix Outlook Failed to Update Headers
Here are some additional tips and precautions to help fix the “Outlook failed to update headers” error:
- Check your internet connection: Ensure that you have a stable and reliable internet connection. A weak connection can cause issues with header updates in Outlook.
- Update Outlook: Keep your Outlook application up to date with the latest updates and patches. Microsoft often releases updates to address known issues and improve performance.
- Disable antivirus and firewall temporarily: Sometimes, overprotective antivirus or firewall settings can interfere with Outlook’s functionality. Temporarily disabling them can help determine if they are causing the error.
Conclusion:
In conclusion, it is essential to resolve the “Outlook failed to update headers” error for smooth email management. By understanding the error and using the suggested above methods, like disabling conflicting add-ins or updating Outlook, you can fix the issue and ensure correct header information. Following these steps will make your email experience easier and more efficient in Outlook.
Frequently Asked Questions:
The error indicates a problem with Outlook’s ability to refresh or display email header information accurately. It can lead to missing or incorrect details like sender, recipient, subject, etc.
Common reasons include conflicting add-ins, outdated Outlook versions, corrupted profiles, or issues with the email server connection.
Some troubleshooting methods include disabling conflicting add-ins, updating Outlook to the latest version, creating a new Outlook profile, or repairing the Outlook PST file.