Though Iomega doesn’t exist anymore users have continued using the old Iomega external hard drives as it is reliable and flexible and last longer.
But they do suffer data loss like any other hard drive, Some of the common causes behind data loss on Iomega hard drives are:
- Accidental Deletion: Unintentionally deleting a file from the Iomega hard drive.
- Hard drive Corruption: Damaged file system or incomplete data on the hard drive causing data loss.
- Virus and malware attacks: infections from viruses or malware can corrupt or delete data stored on the Iomega hard drive
- RAW drive: The file system of the external hard drive is unrecognized or unsupported.
- Physical Damage: Dropping or exposing the drive to the external hard drive can result in data loss and make it unusable.
Except for physical damage, Irrespective of how you lost the files on your Iomega external hard drive, you can still recover data from the external hard drive.
For a successful data recovery: Stop using the external hard drive to avoid overwriting and use reliable tools for the Iomega hard drive recovery.
Manual Way of Recovering Iomega External Hard Drive
Did you know most external hard drives have a Recycle bin on them? You will have to manually unhide it to view the access to the external hard drive recycle bin and restore data from it.
Here is how you can do it and retrieve the deleted data from Iomega external hard drive.
- Open the File Explorer and select the external hard drive.
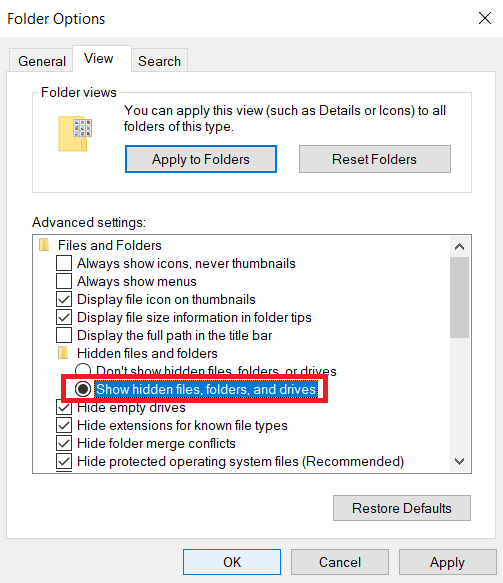
- Click on the View tab and select Options to open the folder Options window.

- Go to the View tab and enable the Show hidden files, folders, and drives option.
The only drawback of this solution is that you only recover files that are manually deleted. You cannot find the shift-deleted or formatted data from the recycle bin.
In case you can’t locate the files in the recycle bin or have lost files on the Iomega hard drive due to hard drive corruption, formatting, or any other loss, you will need a reliable recovery tool to do the job for you.
We suggest you Yodot Hard Drive Recovery to perform Iomega hard drive recovery to recover the data from all data loss cases even in case of Iomega hard drive failure. It has a simple user interface and free preview options to check the integrity before saving the file on your drive.
Iomega External Hard Drive File Recovery on Windows
Download and install the software on your computer and follow the steps below:
If you are trying to recover data from the external hard drive on a Mac, you can download the Yodot Mac Data Recovery (Mac version of the software) and follow the steps same steps as above, the interface of the software is identical.
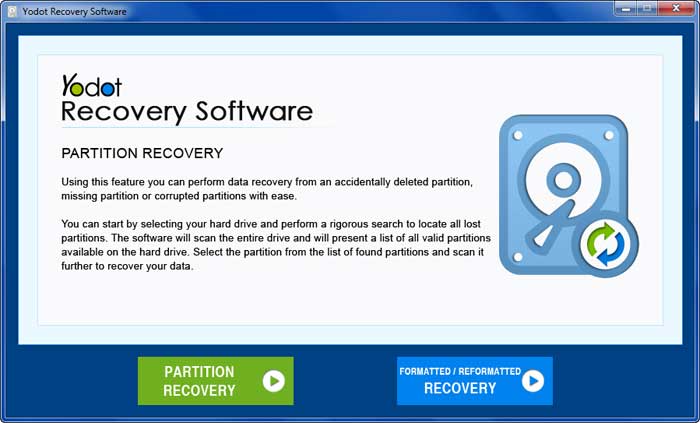
Step 1: Launch the Yodot Hard Drive Recovery tool on your PC.
Step 2: Click on the Formatted/ Reformatted Recovery button.
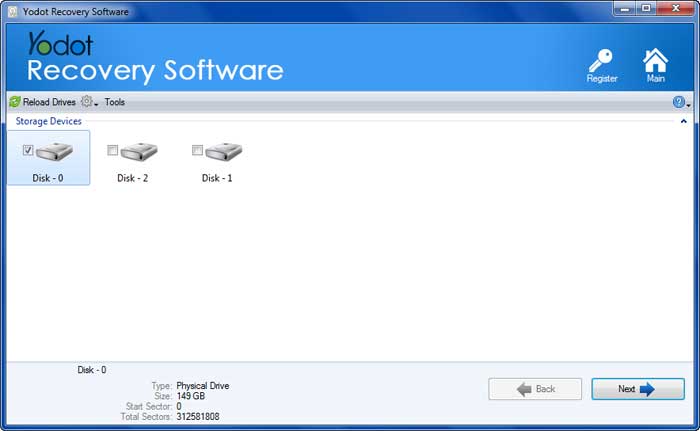
Step 3: Choose the Iomega external drive from the available drives and click on Next.
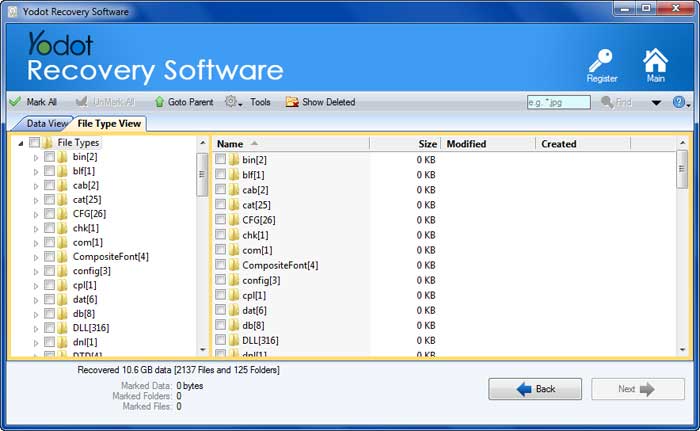
Step 4: Choose the file types that you wish to recover and click on Next.(This will help you reduce the scan time to retrieve the data).

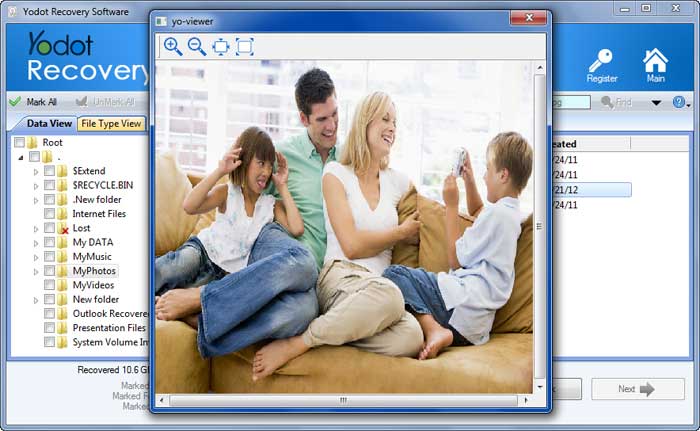
Step 5: Once the Scan is completed, you can sort recovered data from the drive in Data View or File Type View.
Step 6: Double-click on any file to preview, and save retrieved data to your desired destination.
NOTE: Ensure that you save the recovered files in a new location to avoid losing them again.
BONUS: Repair Disk- Related issues on Your Iomega Hard Drive
Sometimes all you need to do is fix minor issues on your Iomega hard drive to access the data in the external hard drive and the built-in utilities can help you to fix them and gain access to the data again.
Warning: Do not try this method if your data is deleted or formatted, this attempt could overwrite the data completely making data recovery difficult.
On Windows:
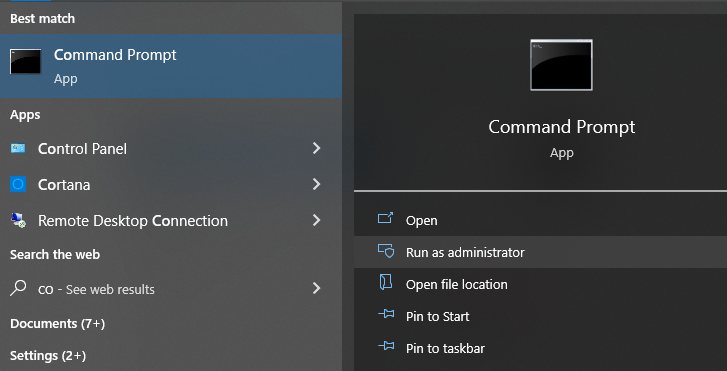
- Open Command prompt as Administrator.
- Type: chkdsk E: /r (Replace E with your Iomega drive’s letter) and press Enter.
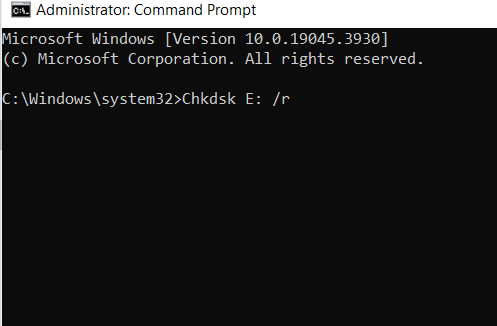
This will scan and fix the structural issues with the file system and directories in your hard drive.
On Mac:
- Open Disk Utility, from the Utilities folder.
- Locate your Iomega hard drive in the list of drives displayed in Disk Utility.
- Click on the First Aid button located at the top of the Disk Utility window.
- Follow the on-screen instructions to run a diagnostic check and fix any disk errors detected.
We suggest putting a leash before the dog decides to run, meaning you should take precautionary measures to keep the Iomega hard drive data safe helping you avoid data loss situations in the long run.
How to Prevent Data Loss on Iomega Hard Drive
Here are some simple steps to prevent data loss:
| Regular Data Backup | Set up automatic backups or create a schedule to ensure your data is consistently backed up. |
| Physical damage | Treat your Iomega hard drive gently and avoid dropping or mishandling it and keep it in a safe and stable location to prevent physical damage. |
| Install Antivirus Software | Use reliable antivirus software on your computer to detect and remove any viruses or malware that could corrupt your data. |
| Regular Maintenance | Perform regular disk maintenance using tools like Mac’s Disk Utility then scan and repair any disk errors to keep your Iomega hard drive in good health. |
By following these simple measures, you can greatly reduce the risk of losing your data on the Iomega hard drive. Remember to be proactive and take regular backups of your files.
Make the safety and security of your valuable data a top priority. By doing these things, you can ensure that your important files are protected and minimize the impact of data loss.
Conclusion
We hope the solutions listed in this article helped you recover the lost data from your Iomega hard drive from all sorts of data loss. Including external hard drives that are not recognized by the computer
If these methods don’t meet the desired results, seeking professional data recovery services can be a possible option. Remember to handle the hard drive with care and consider regular data backups to prevent future data loss incidents.
Frequently Asked Questions
In some cases, professional data recovery services can assist in retrieving data from physically damaged Iomega hard drives. They have specialized tools and expertise to handle such situations.
Yes, you can try using Mac’s Disk Utility to diagnose and repair any disk errors on the Iomega hard drive, which may help recover your data.
If your Iomega hard drive is not being recognized or won’t connect, check the connection by trying a different computer or USB cable. If the problem persists, it’s best to consult a data recovery specialist for assistance.
When an Iomega hard drive is formatted, the data is usually erased. However, in some cases, data recovery software or services may be able to retrieve formatted data. It is important to stop using the drive and seek professional help as soon as possible.
To protect your data on an Iomega hard drive, it is advisable to regularly back up your files to an external storage device or a cloud-based backup service. Handle the hard drive with care, avoid sudden removals, and protect it from physical damage or extreme temperatures.