Can VLC Repair MP4 Videos?
Yes, apart from being a well-known media player and user-friendly player for video file formats like MP4, MOV, AVI, WAV, FLV, AAC, etc, VLC Media player has “video repair” features that can easily repair minor broken or damaged video MP4 videos and other video files.
Given the application’s ability, VLC Media Player is definitely worth the shot as one of the free solutions to repair corrupt video files without the need for any additional software.
IMPORTANT:
1. Remember, the VLC media Player can fix only minor MP4 video issues like index errors, video errors, or playback issues.
2. Try the below solutions on a copy of the corrupt MP4 video files, not in the original MP4 file.
Also Read: VLC Not Playing MP4 Videos
4 Methods To Repair Corrupt MP4 with VLC Player
Method 1: Converting MP4 to AVI
VLC can fix the AVI files, so try changing the video file format from MP4 to AVI and using the built-in feature to repair the corrupt MP4 Files.
This will help you bypass corruption issues on the MP4 container
Rename the file extension of the MP4 video file, and follow the steps below:
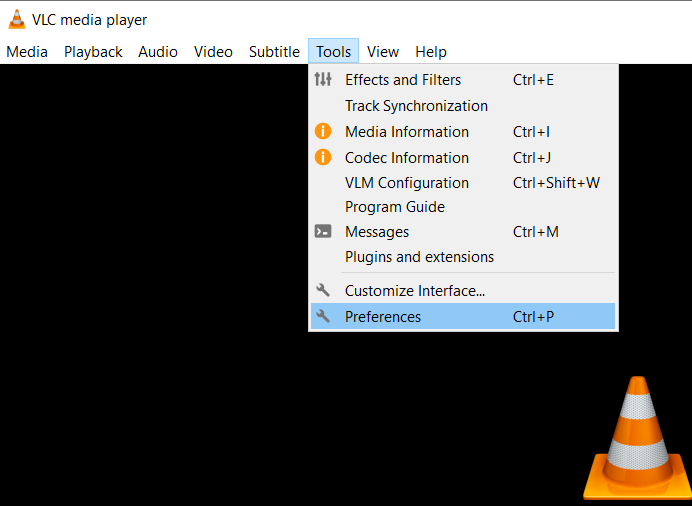
- Open VLC, click on Tools, and choose Preferences.
- In the simple preferences window, go to the Input or Codecs section.
- Select Always Fix next to the Damaged or Incomplete AVI file.
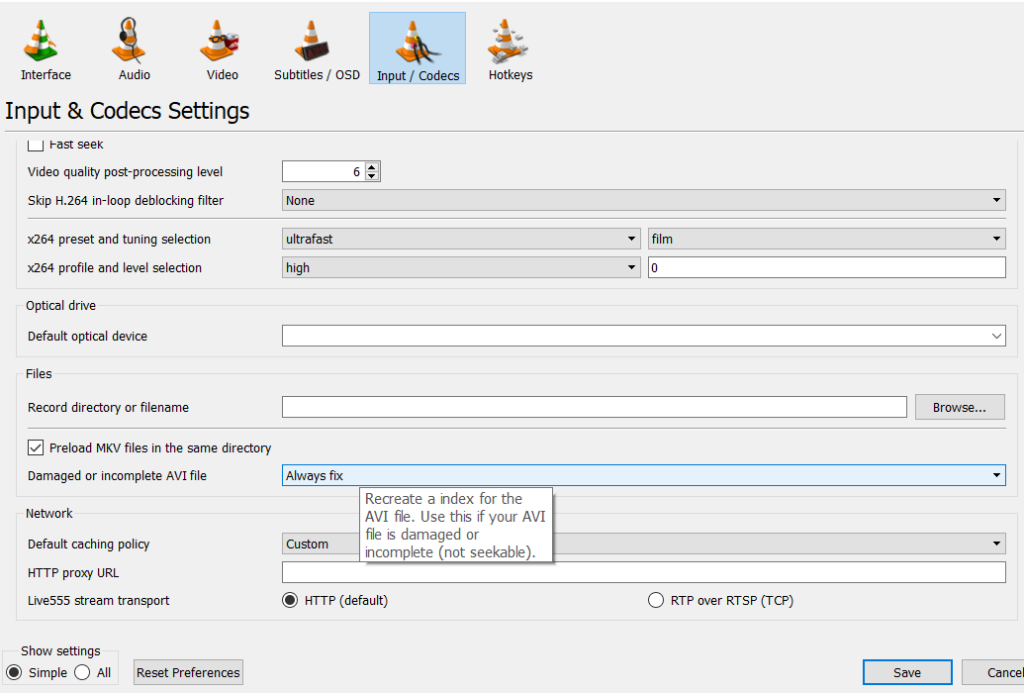
- Click on Save
Now try playing the converted AVI file, it should be playing without any issues.
Method 2: Transcode Using VLC Media Player
When you are facing playback issues on your MP4 file, it can be incompatible codecs between the video and the video player.
Transcoding the MP4 video file using a VLC Media player can fix those issues and ensure smooth playback.
- Launch VLC Player, click on Media, and select Convert/Save
- Click on Add to insert the MP4 videos for transcoding.
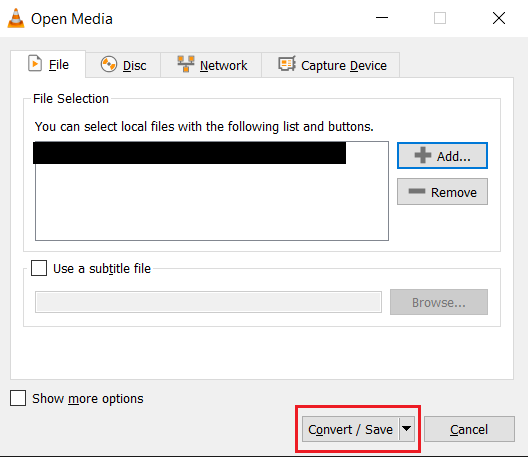
- Click on the Convert/ Save option, In the Convert window, provide the file name and location next to the Destination file option.
- Click on Edit Selected Profile and choose AVI under the Encapsulation tab.
Also: You can choose to create a new profile or delete any existing profile.
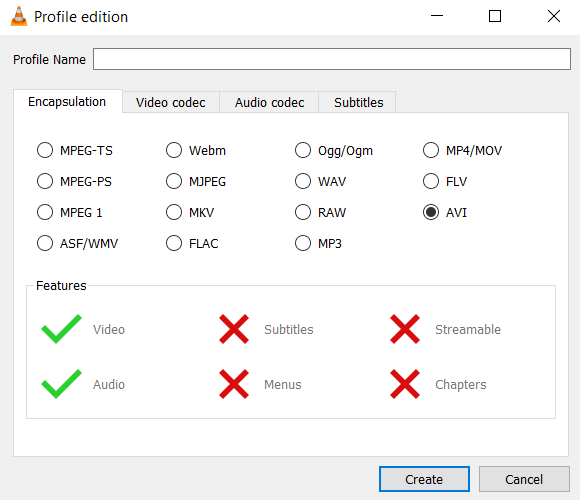
- Now close the profile edition window and click on Start.
Once the process is done, the video should be able to play across multiple video players.
Method 3: Change Video Output Settings
When your MP4 video file is unplayable or distorted due to unplayable codecs, changing the video player settings can solve the conflicts between VLC and the graphic card drivers.
- Open VLC Player, Click on Tools, and select Preferences.
- In the Simple Preferences window, click on Video.
- Next to Output choose DirectX (DirecDraw) video output from the drop-down.
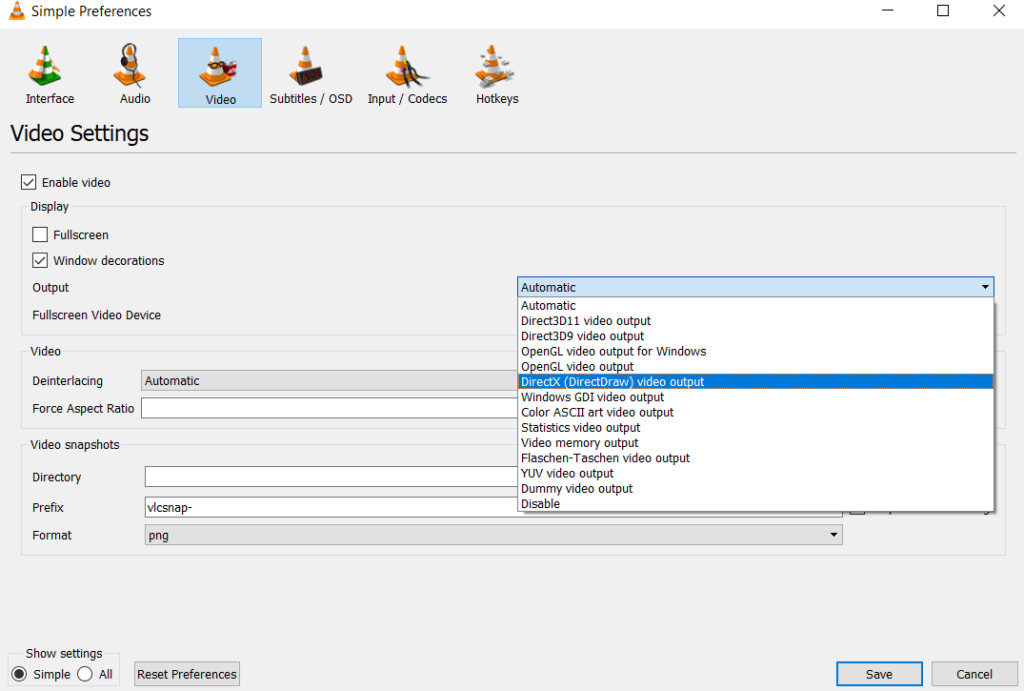
- Click on Save and relaunch the VLC media player.
Method 4: Increase Cache Values
When your MP4 video files have sync issues or are jerky, try increasing the cache on the VLC media player to fix them. This helps in fixing the videos that are streamed online or stored on slower drivers.
- Open VLC Player, go to Tools, and click on Preferences.
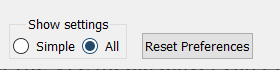
- In the bottom left below Show settings select All.
- Click on Input Codecs, scroll down to the Advanced section, and change File Caching (ms) from 300 to 1000.
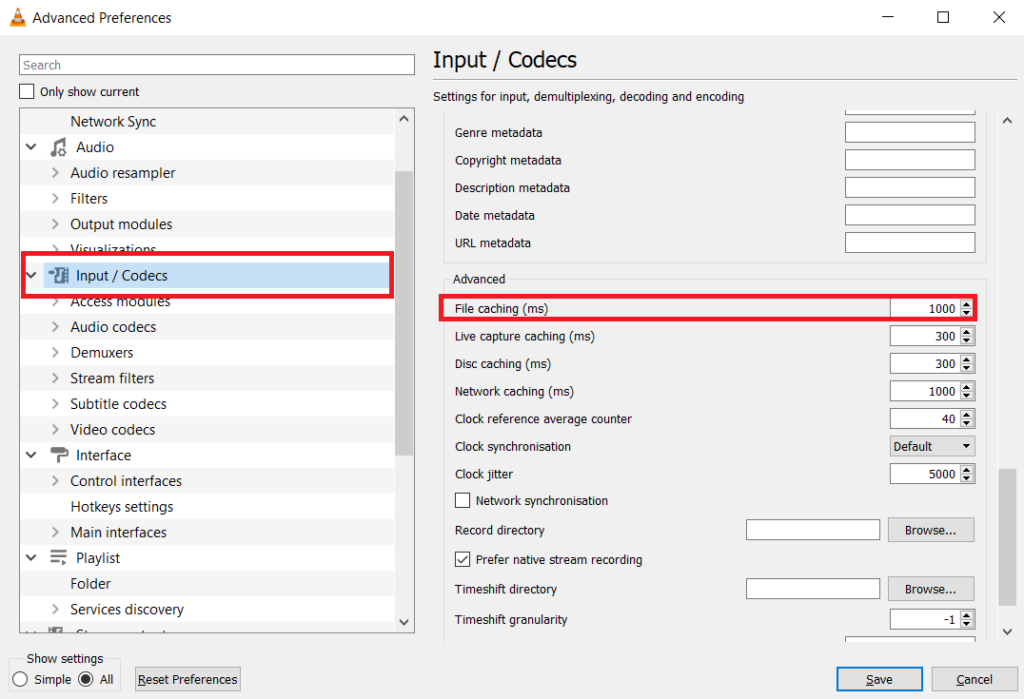
- Save the changes and Restart the VLC Media player.
If the VLC media player can’t repair the corrupt MP4 video file, then it is understood that video corruption is severe and needs a professional tool that can fix all MP4 file errors and bring it back to its normal state.
Repair Corrupted MP4 Video Files using Video Repair Software
Download and Install the Yodot Video Repair tool to fix damaged and unplayable MP4 videos, the tool is effective in repairing broken or missing file headers, missing codecs, etc. in simple clicks.
The tool repairs corrupt video files without any quality loss from all multiple camera brands. If the VLC solutions didn’t go as you expected then this would be the safest bet you can take to repair your corrupt MP4 file.
Steps to use Yodot Video Repair to Fix Corrupt MP4 Video File:
Step 1: Download and Install Yodot Video Repair software on your computer.
Step 2: Launch the software and choose the corrupt MP4 file.
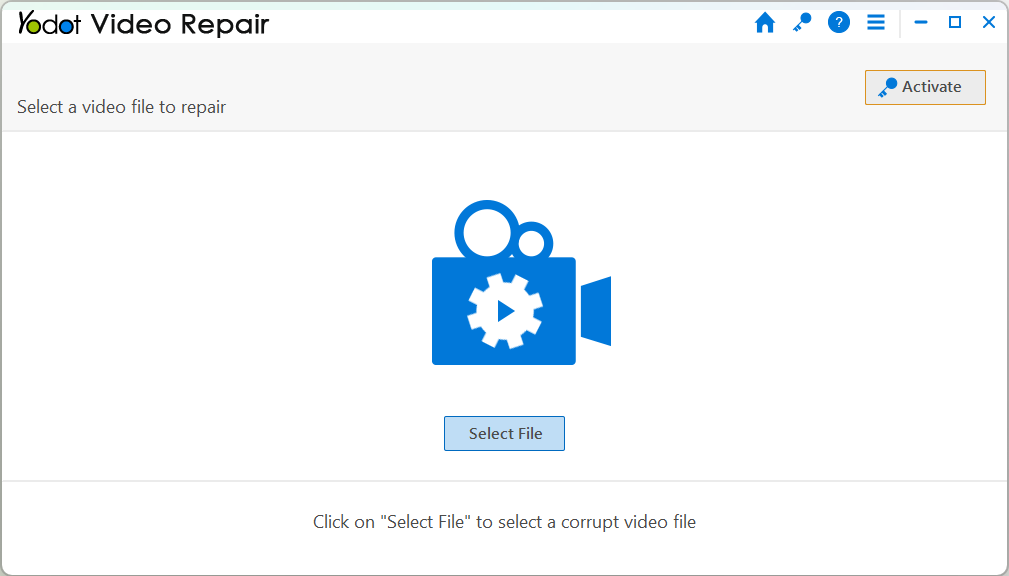
Step 3: Once selected, click on the Repair button to start the repair process.
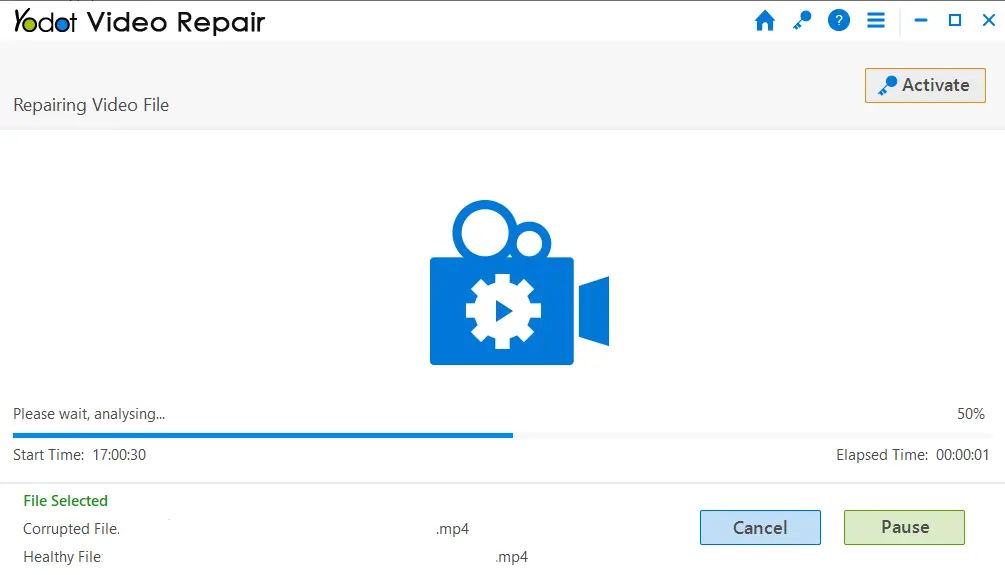
Step 4: After repair completion, the software displays the video file description
Step 5: Check the Preview of the repaired MP4 video file before saving.

Finally, save your repaired MP4 file to the location that you want on your system
Conclusion
I hope that you were able to successfully repair your MP4 files with the help of the VLC Media player. If your issues persist, I recommend that you use professional Video Repair software such as Yodot Video Repair.
To avoid such scenarios in the future, creating a backup copy of all important files goes a long way.