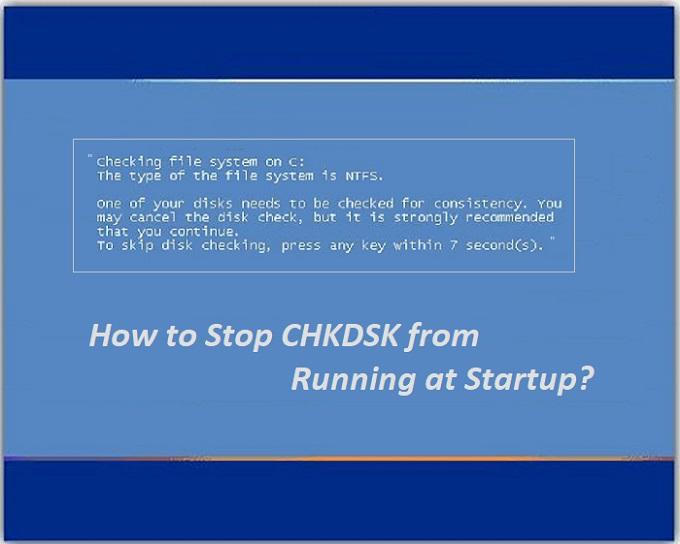
Check Disk in short CHKDSK, is a basic disk repair tool provided in all versions of Windows operating system. This in-built file system integrity checker can scan and repair file system errors, logical issues and bad sectors on the internal hard disk, external hard drive, or any other storage drive.
You can directly run CHKDSK tool from My Computer/This PC or using Command Prompt on a drive/partition connected to the system. In several cases, you may need to run CHKDSK at startup. Especially, when you want to scan the system drive (typically C drive where your OS is installed), when the system shuts down unexpectedly due to a power surge or OS crash, etc.
In these situations, CHKDSK starts scanning your drive at startup or after a reboot. But, it is annoying if CHKDSK is set to run at startup after every system restart; since running CHKDSK at startup is a long process (time-consuming).
So, in this informative blog article, it is explained how to disable CHKDSK at startup in a few easy steps.
Simple Guide to Stop CHKDSK from Running at Startup:
Before you start with the process to disable CHKDSK at startup, verify that automatic disk check at startup is scheduled. Then, stop CHKDSK from running at startup either using Windows Registry or elevated Command Prompt.
Steps to Check Whether CHKDSK at Startup is Enabled or Not:
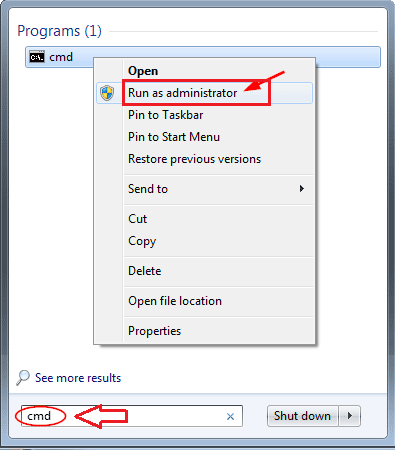
1. Launch Command Prompt (Run as administrator) from the Start menu.
2. Type chkntfs C: and press Enter button.
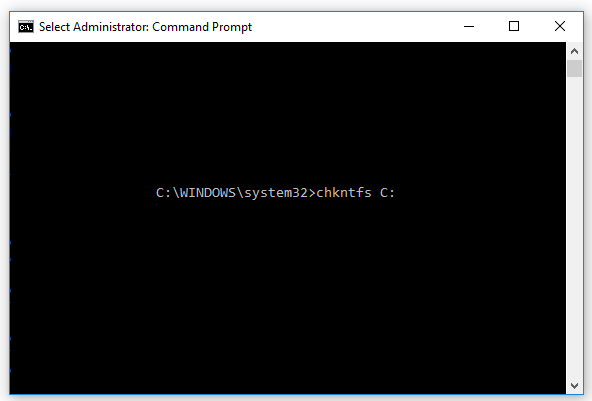
CMD displays “chkdsk has been scheduled manually to run on next reboot” message if the disk check is set to run manually at startup.
Else, it will show a message that states, “C is dirty. you may use the /C option to schedule CHKDSK for this drive”. It means, a dirty flag is set on your system drive and your system will start automatic disk check at the startup after a reboot.
Step-By-Step Instructions to Disable CHKDSK at Startup:
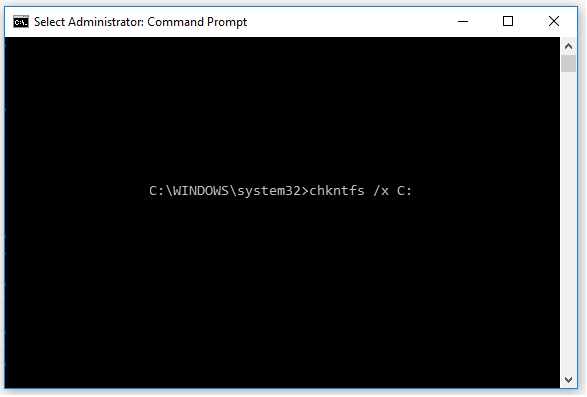
Solution 1: Stop CHKDSK from Running at Startup Using Command Prompt
- Go to Start menu and search for cmd
- Select Command Prompt, right-click on it and choose Run as administrator
- Type chkntfs /x C: and hit Enter key.
Solution 2: Disable CHKDSK at Startup Using Registry Editor
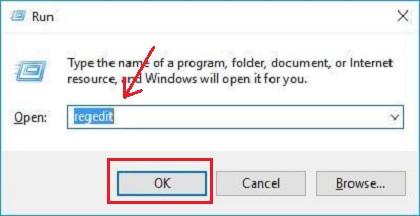
- Open Run window at Start menu.
- Type regedit and click OK.
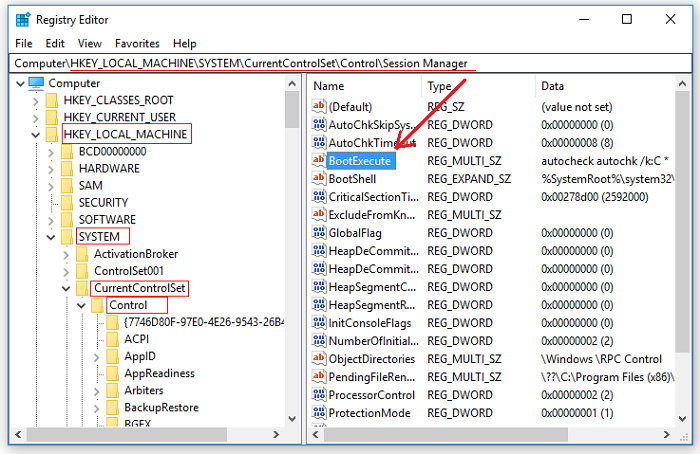
- Go to HKEY_LOCAL_MACHINE -> SYSTEM -> CurrentControlSet -> Control -> Session Manager.
- In the right panel, double-click on the BootExecute.
- Under Value data, delete all lines excluding autocheck autochk *
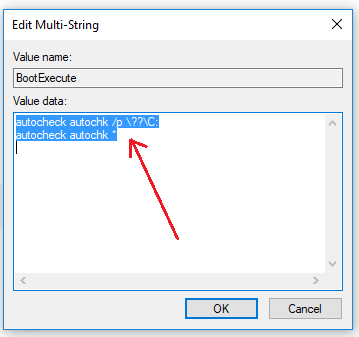
- Click OK and close the registry editor.
Using any of the above 2 methods you can definitely stop CHKDSK from running at startup. After,disabling the CHKDSK at startup, you can verify it using Command Prompt code chkntfs C:
Else, restart your system and see whether CHKDSK runs at startup.
Added Info:
In case, you have lost any of your important files due to CHKDSK running at startup, then here is an easy way to recover files after CHKDSK scan on system drive or other partition.