Have you lost your HFS/HFS+ Partition? Thinking what would have happened to the files or data in the partition? Why worry when there is a partition recovery tool like Yodot Hard Drive Recover tool to regain your HFS/HFS+ partition in no time? Download and try the tool now.


What are HFS and HFS+?
HFS stands for Hierarchical File System, a file system used in Mac to organize and retrieve files. When a mac hard drive has been formatted, the HFS will create a directory and add the files and folders to the hard drive. However, HFS will occupy large storage space and need help to handle larger file sizes. So apple created an HFS+ file system to overcome the issue.
This HFS+ file system will reduce each file’s default space, allowing disk space to be used efficiently on large hard disks. And further, this HFS+ supports journaling, which helps retrieve data when there is a hard drive failure. But first, let’s see what caused the HFS to lose the partition.
Tips to Avoid File System Corruption
Here are the tips to prevent HFS/HFS+ file system from corruption.
- Delete system files carefully – when you decide to delete unwanted files from your system, select and delete the files carefully. Randomly deleting the essential files your system needs may lead to file system corruption.
- Check for bad sectors on your hard disk – The primary reasons for file system damage are bad sectors. Disk utility in mac and CHKDSK in windows will help you repair bad sectors on the hard drive. Check for bad sectors then and then to avoid hfs partition recovery.
- Human Errors – Mishandling the computer, like giving a command to partition mistakenly, lead to partition loss, and you need partition recovery software to recover the lost partition.
How to Recover the HFS/HFS+ Partition on Mac?
You can quickly recover the HFS/HFS+ partition on mac with the below-mentioned four methods. These methods are well-researched and made to recover deleted hfs partitions effectively. So make use of the ways effectively to recover the HFS partition.
Recover HFS/HFS+ Partition with the Yodot Hard Drive Recovery tool.
The Yodot Hard Drive Recovery tool is the one-stop solution to recover lost HFS/HFS+ partitions. Many users widely use this tool for recovering lost, deleted, corrupted partitions, etc., because it has been rigorously tried and tested under various partition recovery scenarios to recover the partitions seamlessly. So download and try the tool for a smooth HFS partition recovery process.
Steps for HFS/HFS+ Partition Recovery Using the Hard Drive Recovery tool:
- Download the Yodot Hard Drive Recovery tool on your system.
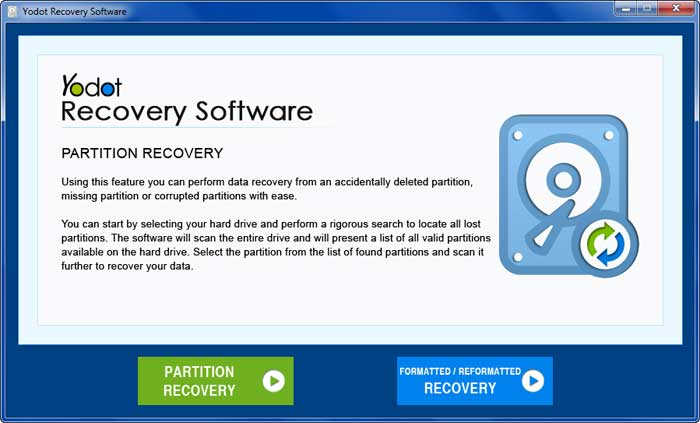
- After downloading, launch the device and click on Partition Recovery to recover deleted HFS partition.
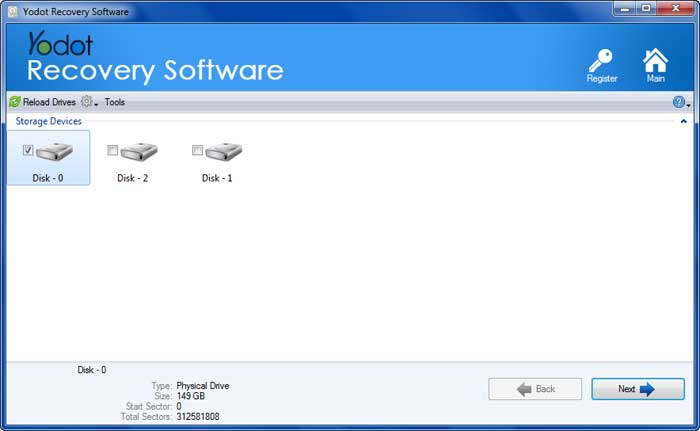
- In the next screen, select the drive and hit Next.
- After clicking next, the scanning process starts to find the lost HFS/HFS+ partition.
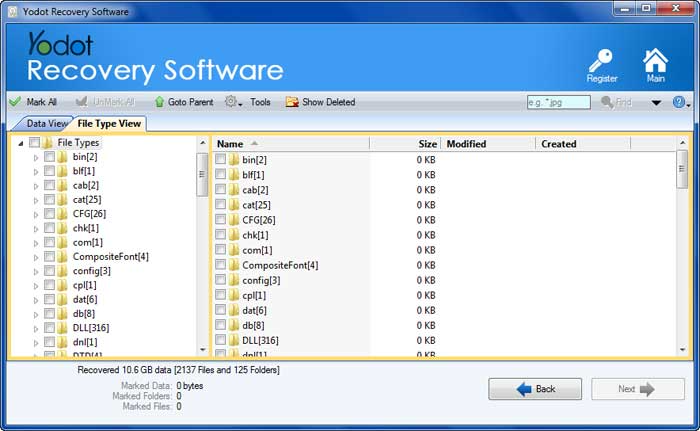
- Once the software finds the lost partition, Select or Add a file type to recover the particular file type and click Next.
- The tool starts recovering the files by clicking next and displaying them in a Data View and File Type View.
- Preview the recovered file using the Preview option.

- Please select the required file type and click Save to save it in your desired location.
Recover HFS/HFS+ Files From Mac Trash
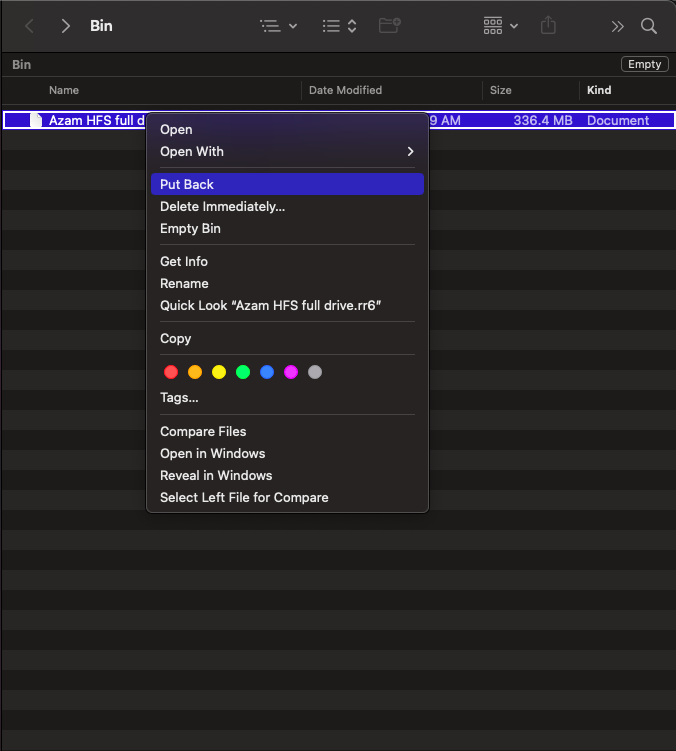
You have to check whether the file is there on the Mac Trash. If the file is still there, you can quickly recover deleted files from a mac using the steps below.
- Click on the Trash Icon
- From the deleted items list, select the files and folders you want to restore.
- Select the folders by right-clicking on them.
- Click on Put Back to restore the files.
Use Disk Utility to Repair Corrupted HFS/HFS+ Partition
Disk Utility has a feature called First Aid which will repair your Corrupted HFS/HFS+ Partition. Follow the steps to repair and recover the HFS+ partition using the disk utility.
- Go to Finder → Applications, click on Utilities, and open Disk Utility.
- Click the View button in the top left corner and select Show All Devices. Selecting this will show the available disks and volumes.
- Click the HFS/HFS+ partition and select First Aid → Run.
- Wait for a while; the first aid will finish the process.
Note – Don’t do any other operations while the first aid is running
- Check your HFS/HFS+ partition now.
How to Recover HFS Partition Data on Mac via Time Machine Backup?
You have to enable the time machine backup to use this feature, and the time will back your data from time to time so that you can quickly run the HFS/HFS+ data recovery process by following the steps below.
- Connect your Time Machine backup to the Mac system
- And then open the folder where your files are saved
- Select the Time Machine icon → Enter Time Machine

- To recover the required file, make use of the Up and Down arrows
- To Preview the file, select it and hit the Space bar
- And finally, hit the Restore button to position the file in its original place.
Conclusion:
Make use of the manual methods to recover your HFS/HFS+ Partition. If you can’t recover the partition by the above-provided techniques, then your HFS/HFS+ Partition is severely corrupted. In this scenario, it’s always recommended to use the Yodot Hard Drive Recovery tool for a hassle-free recovery process.